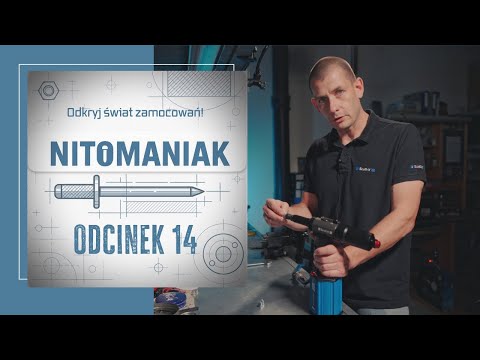
气动液压铆钉枪Scell-It
E-312NP
气动液压铆钉枪
Scell-It
E-312NP
EXW VB 不含增值税
€499
出厂年份
2025
状况
展品机
(完全功能)
位置
Tarnowskie Góry 


价格和位置
EXW VB 不含增值税
€499
- 位置:
- Tarnowskie Góry, 波兰
拨打
技术细节
- 总重量:
- 2 千克
- 保修期限:
- 3 个月
- 压力:
- 7 横杆
优惠详情
- 广告编号:
- A22109818
- 参考编号:
- E-312NP
- 更新:
- 最近更新时间为 12.06.2026
描述
The Scell-it® E-312NP pneumatic riveting tool for self-clinching nuts offers reliability, precision, and functionality, making the installation of self-clinching nuts quick and easy. Below, we provide additional information regarding the replacement of the nose/mandrel, stroke adjustment, and self-clinching nut installation, to enable you to fully utilize the potential of this tool.
Nose/Mandrel Replacement:
Detailed instructions for replacing the nose and mandrel can be found in our comprehensive operating manual. If you intend to use self-clinching nuts of different diameters, it will be necessary to change the nose, mandrel, and adjust the tool accordingly. Consult the instructions to learn how to make these changes and adjust the mandrel length to the size of the self-clinching nut.
Self-Clinching Nut Installation:
After performing the startup procedures and adjusting the stroke, insert the self-clinching nut into the pre-drilled hole.
Place the mandrel in the self-clinching nut and press the tool. The mandrel will automatically seat itself in the self-clinching nut.
Press the tool trigger to clamp the self-clinching nut onto the component.
The release will occur automatically after the self-clinching nut has been clamped onto the component, allowing you to release the tool.
If the tool is not released from the self-clinching nut, press the button on the back of the tool to force the release.
Stroke Adjustment:
The tool stroke must be adjusted to the component on which the self-clinching nut will be clamped. The E-312NP riveting tool allows stroke adjustment from 1 mm to 7 mm. To adjust it, follow the instructions below:
Iedezc Dx Iopfx Acnsth
Precise stroke adjustment is crucial for effective self-clinching nut installation. Here are some tips for controlling stroke adjustment: The stroke can be set from 1 mm to 7 mm. The graduated scale on the tool accurately indicates the set stroke. To increase the stroke, move the adjustment slider towards the front of the tool, while simultaneously turning the knob to the left. Then release the slider, ensuring that it is re-seated on the head. The cursor will indicate the range of the set stroke. To decrease the stroke, follow the same procedure, turning the stroke adjustment knob to the right. Our self-clinching nut riveting tool is designed to allow precise stroke adjustment and ensure optimal installation results.
If the stroke is incorrectly adjusted or the self-clinching nut has a quality defect, the mandrel release may be difficult. In this case, use the "anti-block rod," which is included in the kit. Insert it into the hole in the base of the sleeve and turn it to the right to release the self-clinching nut, as shown in the illustration in the manual.
该广告为自动翻译,可能存在翻译错误。
供應商
注意: 免费注册或登录,以获取所有信息。
注册于: 2026
5 在线广告
发送询价
电话 & 传真
+48 733 4... 广告
您的广告已成功删除
发生错误

Machineseeker-信任认证标志
什么是可信印章?
Machineseeker通过Machineseeker信任标志认证精选经销商。 在发放之前,Machineseeker 经验丰富的员工会进行标准化和全面的检测。
我们检查什么?

检查
营业执照或商业登记摘录
检查经销商的
邮寄地址
银行账户信息验证
主电话号码的
电话
可接通性验证
企业信用报告
不得显示任何负面特征
买家的投诉
可能导致认证标志被撤销这对您作为买家意味着什么?
通过 Machineseeker 信任标识,您作为买家无需自行检查,就可以识别出极有可能进行诚信且合法经营的可信经销商。
当然,在购买过程中仍可能出现分歧。 Machineseeker 对在 Machineseeker 上活跃的买家或卖家的法律违规行为不承担责任。